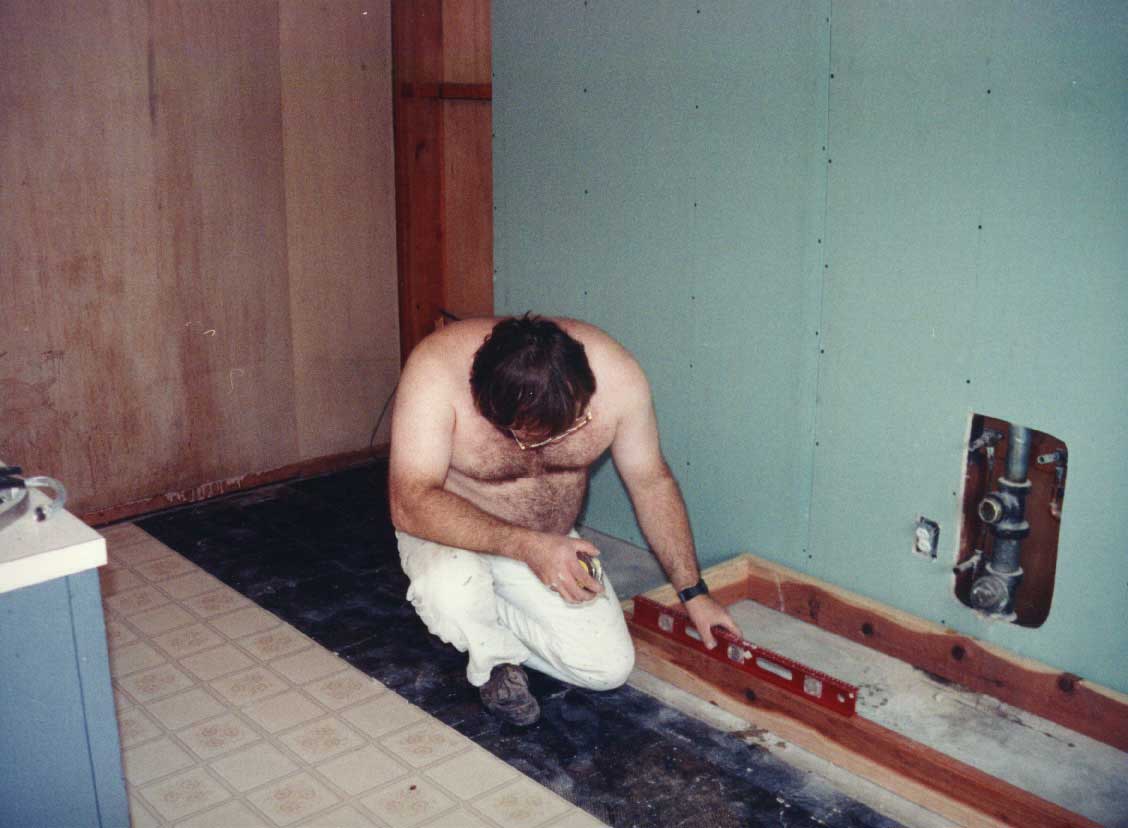
Here you see me leveling one of the base sections for the cabinets. This section will hold the sink, drawers, and the appliance cabinet. I ripped out the old wall between the kitchen and the living room to make it easier for the plumbers to cut off the old leaking pipe and to bring in new plumbing from over the roof. The old plywood walls were then replaced with the "green board" that you see. This provided some amount of water resistance and would serve as a foundation for the tile trim later.
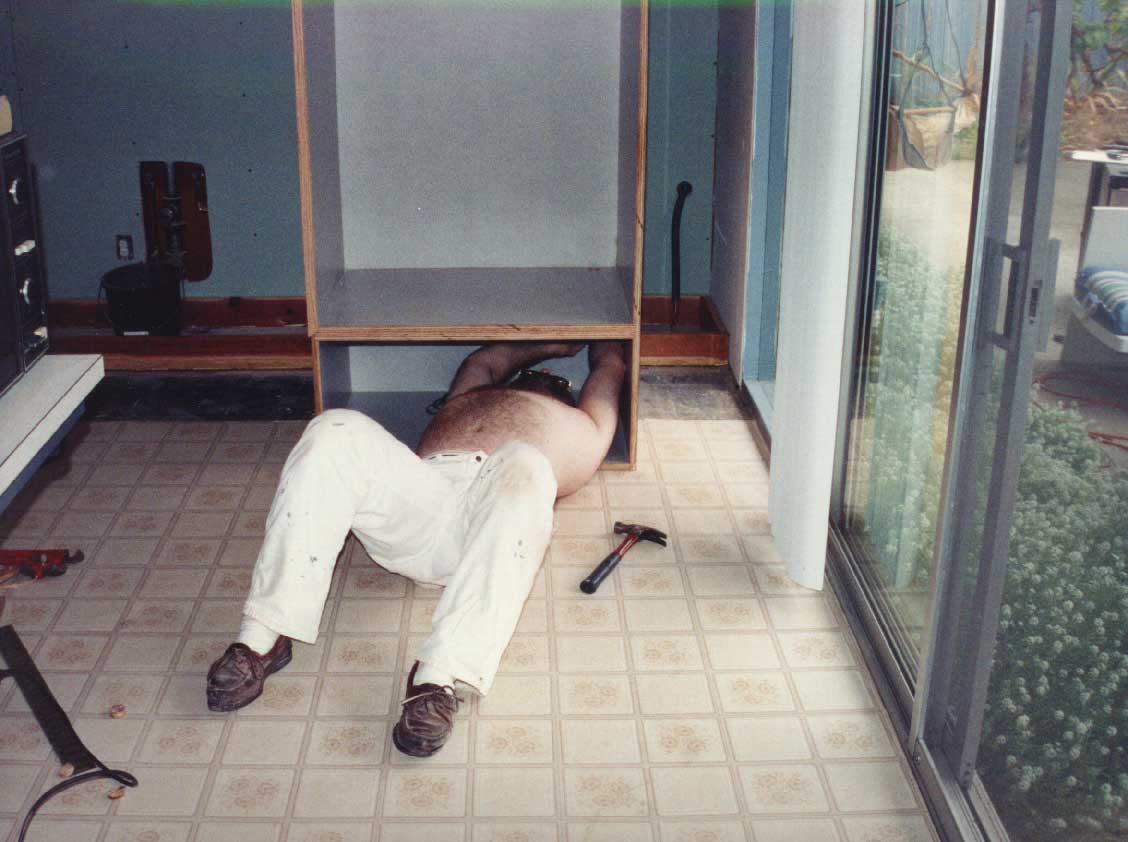
With the base leveled, aligned, and glued to the floor, I began finishing work on the appliance cabinet. The power for the microwave and oven would come in through the hole you see me adjusting. Behind the cabinet to the right you can see the 220v power feed coming out of the green board. Besides adjusting the hole for the cable, I am installing the junction box were the power feed will connect to the appliances. To the left of the cabinet you can see the cutout left for the soil vent. This would be covered later by the base cabinet. The oak facing for the plywood would be added after all the cabinet parts were fitted together.

With help from our ever faithful friend Keith Gregg, I have fit the appliance cabinet in place, and also the adjoining sink cabinet and the cupboards above. The 2 by 4 you see below the cupboards is a temporary board to help me hold the very heavy cupboards while they are leveled and fitted to the appliance cabinet. Some of the base doors and all of the cupboard doors have been hung and aligned to make sure things are all going to work correctly before things are finally committed.
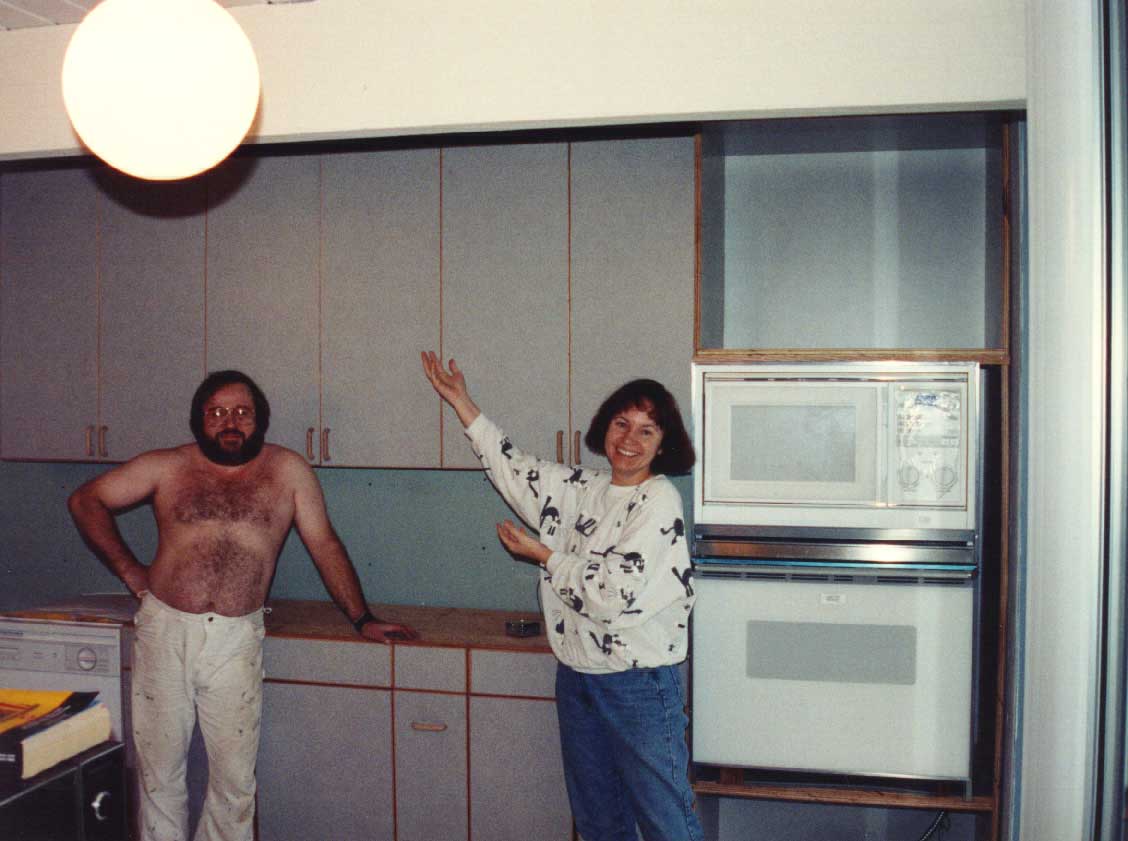
Kathy, who helped in the design, construction, and installation of everything, gives a well deserved "ta-da!" We were in a rush to get appliances hooked up by the end of the first day so that we could eat in and clean the dishes while we finished the detail work.
The stove and microwave are permanently in place, the dishwasher is installed to the left, and the rough surface for the counter top is in place. We hadn't made a final decision about counter top and sink at this point.
We finally decided to go with a Corian counter top. It was very pricey, but my total outlay for tools to build the cabinets, and materials, was trivial compared to what it would have cost to buy commercial cabinets that wouldn't be anywhere near as nice. I probably spent between $400 and $600 for materials (not including the appliances and counter tops), and about $1500 for tools - which included a Shop Smith multi purpose tool which was used to cut and join everything. And, I still had the tools to use when I was done.

Here you can see some of the oak trim around the doors and on the cabinet faces. Also note the European hinges which allow the faceless design and don't use much space inside of the cabinets. With these hinges, the doors are fitted so that there is only a 1/8" gap between them, as you can almost see in the previous picture.
Inside the cupboards, shelf racks allow adjusting shelves for maximum space usage.
The shelves themselves are cut from Melamine faced boards. Using formica laminated plywood would have made the shelves unnecessarily heavy and expensive. The Melamine surface is also durable and easy to clean.
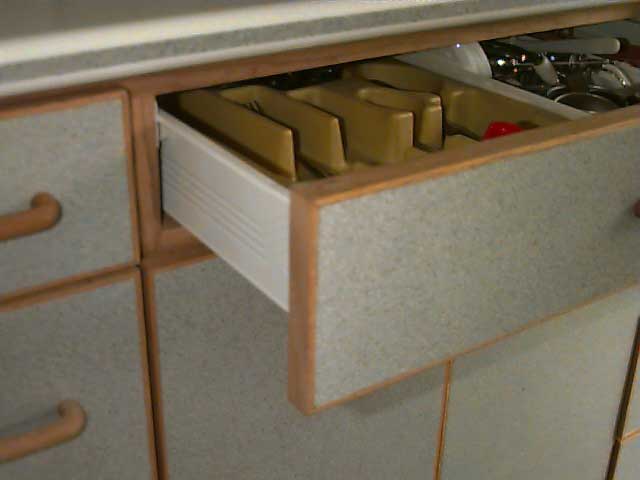
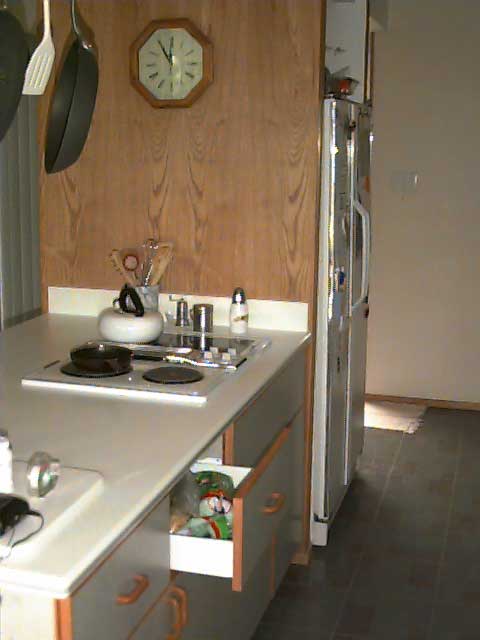
Here you can see the detail of the rightmost drawer in the sink cabinet. Notice, again, the use of oak trim. The drawer sides are made from metal and have built-in sets of slides. The result is a drawer with very little lost space for the drawer carcass and slide mechanism.
The height of this drawer, and in fact all of the drawers, was determined ahead of time by measuring all the things which we had in the kitchen, and things we thought we might want to have. Then drawers were designed to accommodate everything.
To the left of the open knives, forks, etc. drawer is a cutlery drawer. Below the cutlery drawer is a drawer for trays, cooling racks, and other large flat objects. Below the open drawer is a cabinet with adjustable shelves for pots and pans.
You can also see the detail of the Corian counter top front. We contracted to have the counter tops made as working with Corian would have required purchasing even more tools and it would be very expensive to make beginner mistakes in the material. The front of the counter top includes a slice of gray granite looking material to match the Formica detail.

Here is a view of the pantry cabinet, to the left of the sink. Two sections of wire basket shelving allowed us plenty of options in storing different sized objects. Because we needed to allow some free space to the left and right of the wire shelving to accommodate the hinges (due to the length of wire shelves that we chose), we ended up being able to use that extra space to store cereal boxes and other such narrow items. We also had room to store a holder for the more frequently used spices on one of the doors.
Above the pantry is another multi shelf cupboard to hold miscellaneous items.
There is also a peninsula directly across from the sink. Originally, a wall existed where you now see an entry way at the right of the picture. That caused traffic problems, so I removed a section of that wall.
A Jenn-Air stove sits on the Corian counter top. Forced air is ducted from the stove to the roof via ductwork which is hidden in the wall between the stove and the refrigerator.
The open drawer again shows the metal side detail. As explained before, the drawer height was determined by measuring all the different things we needed to store in drawers. Thus these drawers are taller than the sink cabinet drawers. We can even store our toaster and other small appliances here, and several common grocery items fit well in these drawers.
The wall panels are of oak to match the trim detail of the cabinet.
On the hidden side of the peninsula are shelves built-in to the back of the cabinet and behind the refrigerator.
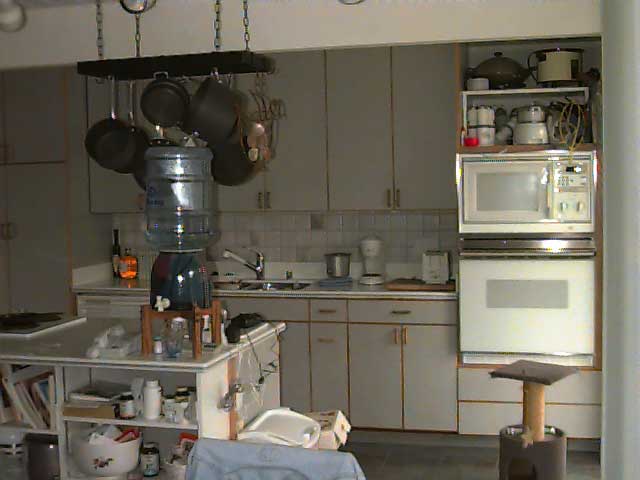
Finally, here is a shot showing more of the overall new cabinet assembly. With the new peninsula design, we had an opportunity to install a pot hanger from the ceiling. The large extra stove counter top allows us to store the bottled water dispenser in a handy place. Shelves visible in the stove cabinet hold cooking books, mixing bowls, and small appliances such as a large mixer and a bread maker. There was huge increase in available space over the original cabinets, and there is a much more useful traffic flow in the kitchen area.